Minibed Gardening Video Compilation

 Dateline: 1 February 2021


The Minibed gardening system has proven itself over several years of experimentation. I have recently compiled a list of the best YouTube videos about this remarkable system at Planet Whizbang. CLICK HERE to get to the video list.


A New Minibed Garden in Oklahoma

(click photo to see larger view)

I'm really enjoying the feedback and photos I'm getting this year from gardeners who are now gardening with my Minibed system. Nancy in Oklahoma sent me the above photo last month, along with these comments...

We have four garden plots and have considered your Minibed system for years. Finally, after last year’s most disappointing garden ever, we took the leap in 2019.

No more do we have to weed hours on end, day after day after day or struggle with the guilt of considering chemicals. The minibed system is the real deal and we love it! 
This picture shows one type of tomato, hot chili peppers, x-hot chili peppers, long cucumbers, tiny cukes, and Serrano chilis. Our other plots are each for a different heirloom tomato, herbs, and assorted crops. 


Introducing... Rick Long's
Garlic & Onion Curing Tree
(With Instructions)


Rick Long is a serious, long-time gardener in Wisconsin. Last year he started experimenting with Minibed gardening. This year he harvested 156 garlic bulbs from his Minibeds. I posted photos of Rick's 2018 Minibed garden earlier this year (CLICK HERE to see it).


As you may already know, garlic bulbs need to be cured, or dried down, for a period of time after harvest. This is often done by tying bunches of bulbs together and hanging them  in a dry location with good air flow. That's the way I typically cure my garlic harvest these days.

But tying a lot of garlic in bunches can be a lot of work, and air flow around the bunches is not ideal. With that in mind, Rick developed a remarkably nice drying rack. He calls it a  "Garlic & Onion Tree." I think it should be called "Rick Long's Garlic & Onion Tree." That's it in the photo at the top of this post. Here's a photo Rick's garlic curing tree before it was loaded with garlic...


I know a brilliant, down-to-earth idea when I see it, and Rick Long's Garlic & Onion Tree is such an idea. I dare say it's a whizbang idea, which means it is "conspicuous for speed, excellence, and startling effect." You can bet I'll be making one! Here are some details from an e-mail that Rick sent me...
"Attached you will find a photo of my “Garlic/Onion Tree” before I installed it and a photo of it in use. The cross pieces are only 18” long because I had some scrap 2 X 4’s laying around that I cut them out of. If I make another one, I’ll cut the cross pieces at least 24” to maybe 30” long. It will hold more that way. The current “tree” will hold approximately 108 garlic bulbs, or onions for curing."
I asked Rick if I could share his curing rack idea here. He graciously agreed, and provided some further construction details...
"The Garlic/Onion Tree is really simple. It’s just a 2” X 2” (a 2 x 4 ripped in half) and the cross pieces. I cut the cross pieces out of some scrap 2 X 4’s ripped 1/2” wide. I got five pieces out of each 2 X 4. Then I cut them to 7/8” wide. I thought 1 1/2” (the 2 X 4 thickness) was too wide and 3/4” was too narrow, but I don’t think it makes a big difference. One construction screw holds each cross piece in place. That way if you want to store it after curing your onions and garlic it partially folds up, making it somewhat smaller.
I mounted mine semi-permanently between two posts in my pole shed. I think with a 1 X 6 mounted on each end, opposite the cross pieces it could be stabilized so it wouldn’t twist, or roll over, on a pair of saw horses for a temporary curing tree/rack.
Yes, go ahead and share it with others. I have not seen anything like it on the Internet, but it doesn’t seem possible that someone else hasn’t thought of it either."

There isn't a doubt in my mind that a lot of gardeners out there will love this idea and want to make one of these drying/curing racks. This is an idea that should go viral. With that in mind, please share this blog post with your social network. All I ask is that you give credit where credit is due, and call it Rick Long's Garlic Curing Tree


P.S.
Some people may wonder if hanging garlic bulb-end-up is a "right" way to cure the bulbs. I don't think that's anything to be concerned about. Here's why...

Years ago I grew a LOT of garlic and made This Drying/Curing Contraption. In order to dry down such a large number of bulbs, I cut the tops off at harvest, and in some of the trays I arranged the bulbs upside down. I saw no end-result difference between bulbs cured that way, and those that were cured in bunches with the bulbs hanging down. 

The most important thing with harvesting garlic is to dig the bulbs before they die down too far (Rick's bulbs in the photos above were harvested at just the right time), and to get them right into a drying/curing situation of some sort.

And finally, if you have not yet seen my Planet Whizbang garlic growing and garlic-powder-making resources, please Click Here.


Mike McKinney's
Excellent Minibed Garden
(in East Central Illinois)


I'm really enjoying the feedback and pictures that are coming in from people who are using the Minibed gardening system. Mike McKinney in Dieterich, Illinois recently sent me the following comments and photos (click on the photos to see larger views)...
Hello Herrick,
I found your channel on you tube early in the spring. So I thought you might be interested in some feed back on your Experimental Mini Bed Gardening system. I have attached some photos of mine that I started this spring.
I have tried many other systems before but I must say I have not seen results like I have with the mini beds.  It is amazing how well  garden plants grow in these mini beds. And what I appreciate the most is no weeding. Or at least very minimal weeding.
Always in the past we would get a week or more of wet weather and the weeds would get out of control and it would be nearly impossible to get ahead of them.  Not a problem with the mini beds.
It was a lot of work to get the plastic laid and secured and build the frames.  But now I think I have as close to a plant and pick system as one could hope for.
So I just wanted to share that I think you really on to something here and I hope others will try it out. 


In another e-mail, Mike wrote the following: 

"I weeded entire garden this am and it took 10 minutes.  Then I pulled the snow peas and prep the mini bed for next crop that took 5 minutes. You gotta love this system."

Many thanks, Mike, for letting me share your pictures and feedback here. It's powerfully inspiring!


Duke Norfolk
Makes The Most Deluxe
Minibed Growing Cages!

(click on photo for larger view)

In one of my recent YouTube videos, Duke Norfolk left this comment...
I've made my own mini-beds this year and I found that cutting a cattle panel crosswise, into 24 inch width pieces (each opening is 8 inches wide) and zip tying them together makes a great tomato cage. It fits perfectly inside the the 30x30 mini-bed frame.  And the height is pretty good at 50  inches. 
They just sit right on the ground, with no anchoring, but the weight is substantial enough to make them very stable.  And they only cost about $15 each (you can get 6 sides out of  each panel, at $20 per panel), vs. the $35-40+ you'll pay for a good tomato cage.
The Duke has sent me the photo you see above, and the following (click on the photos to see larger views)...


These photos show Minibeds with tomatoes, but Duke Norfolk says he has also used them for other crops. 

These custom Minibed growing cages are impressive. Thanks for the inspiration, Duke!

2019 Garlic
Minibeds In Wisconsin

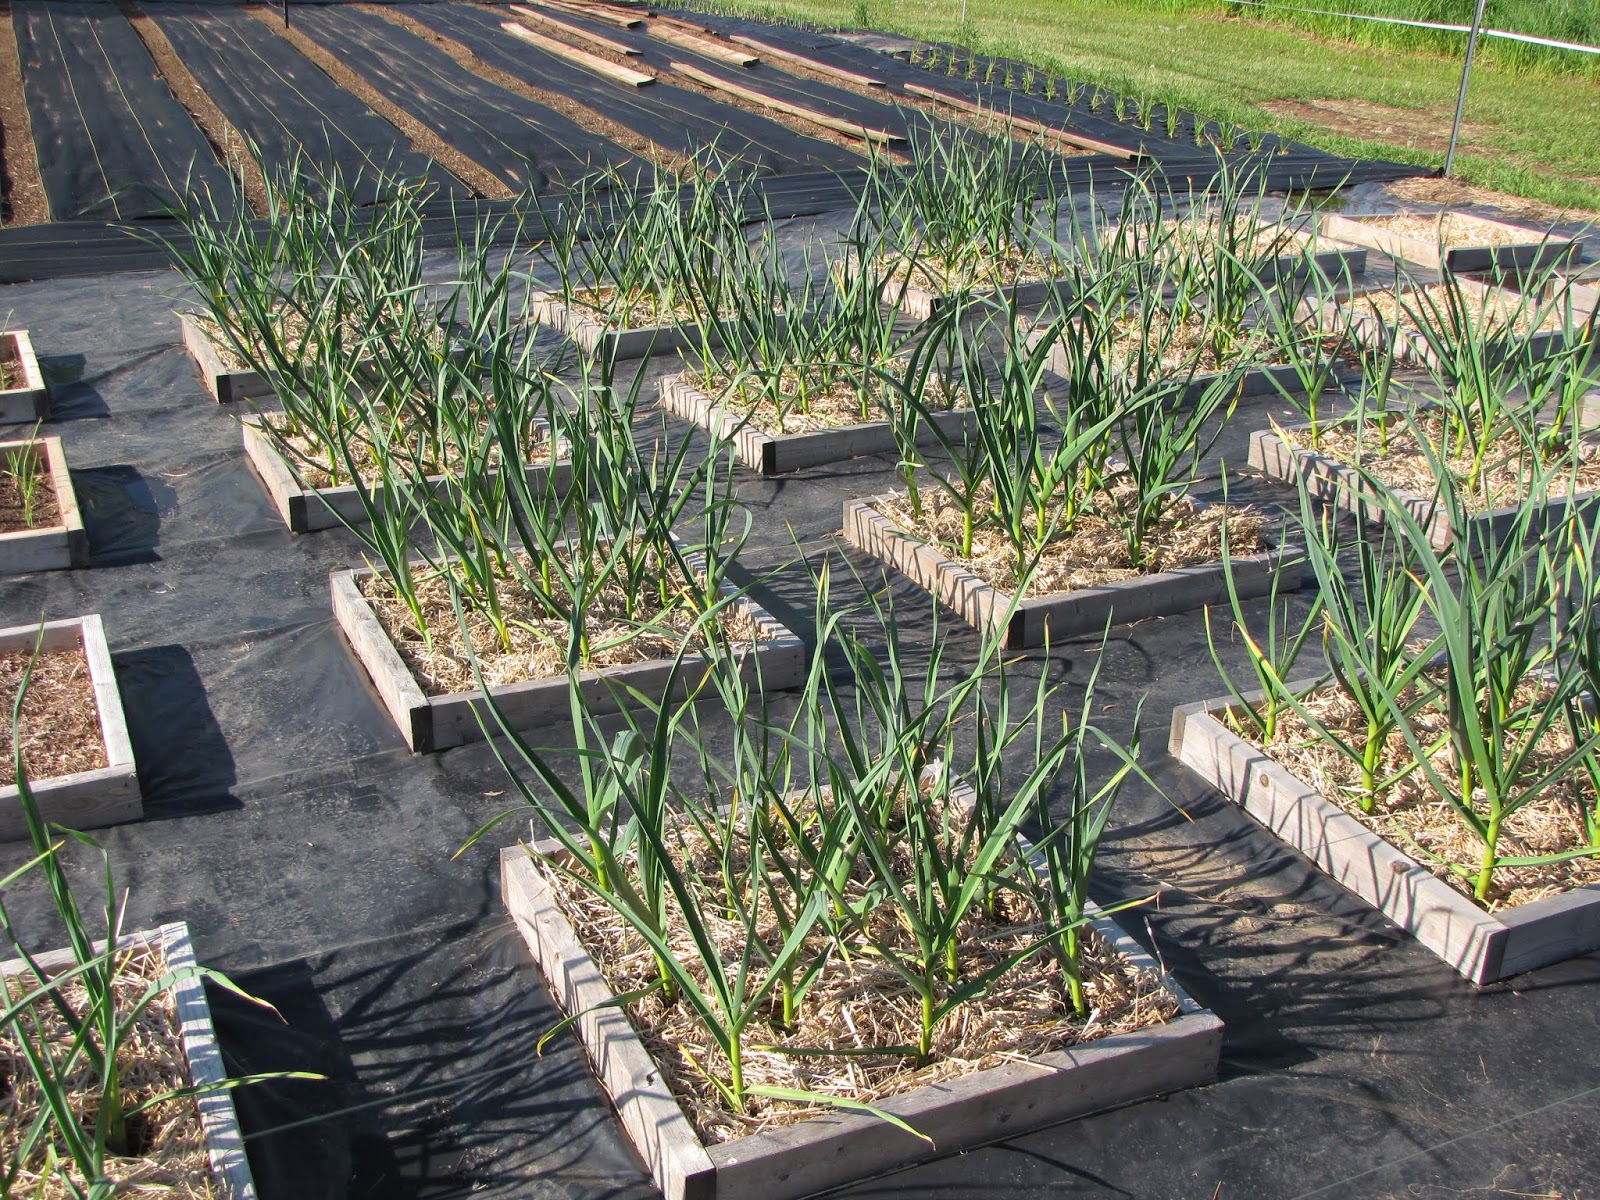
Rick's Garlic Minibeds in early June
(click photos for larger views)

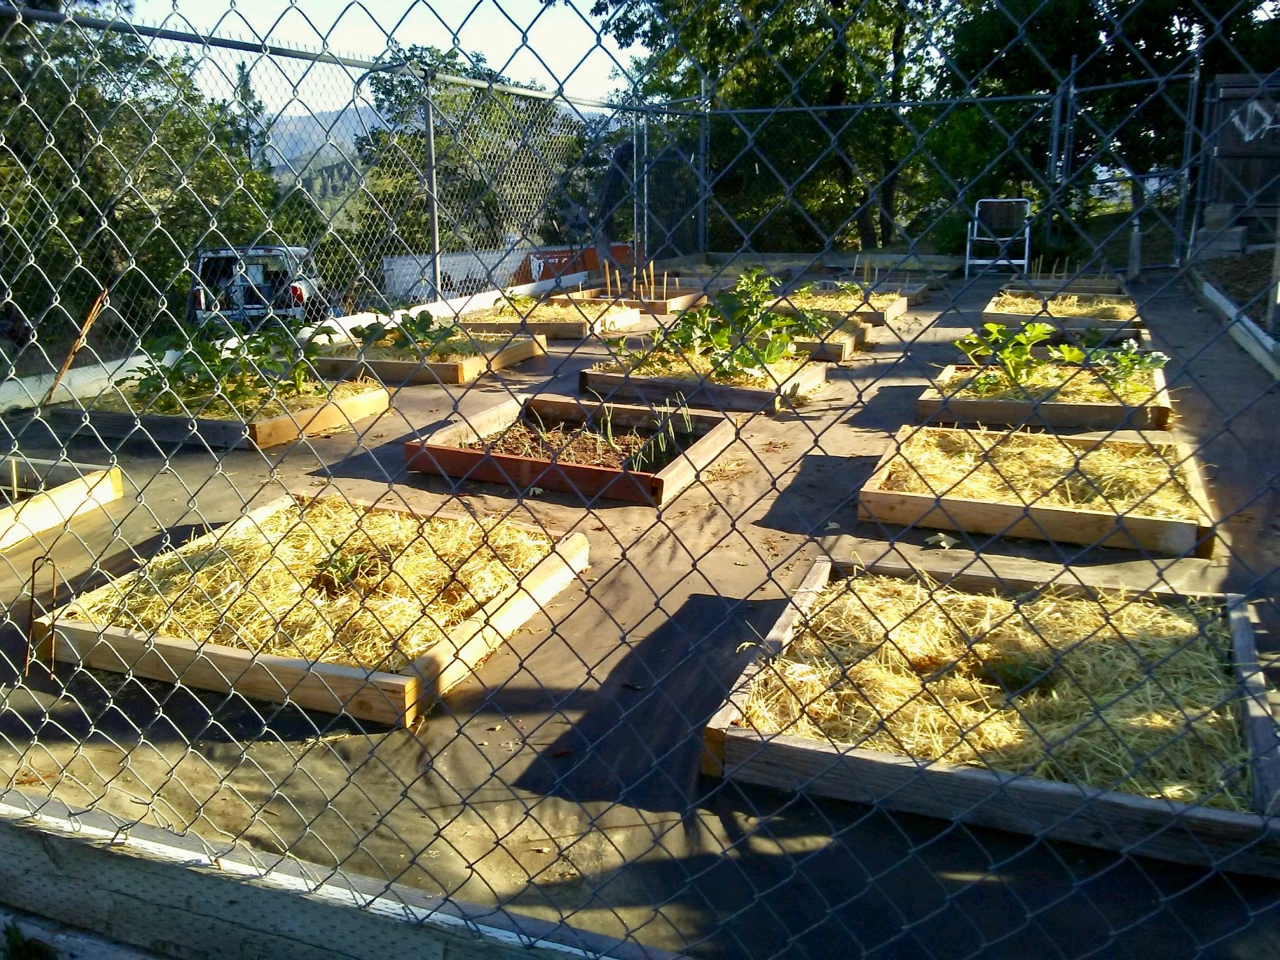
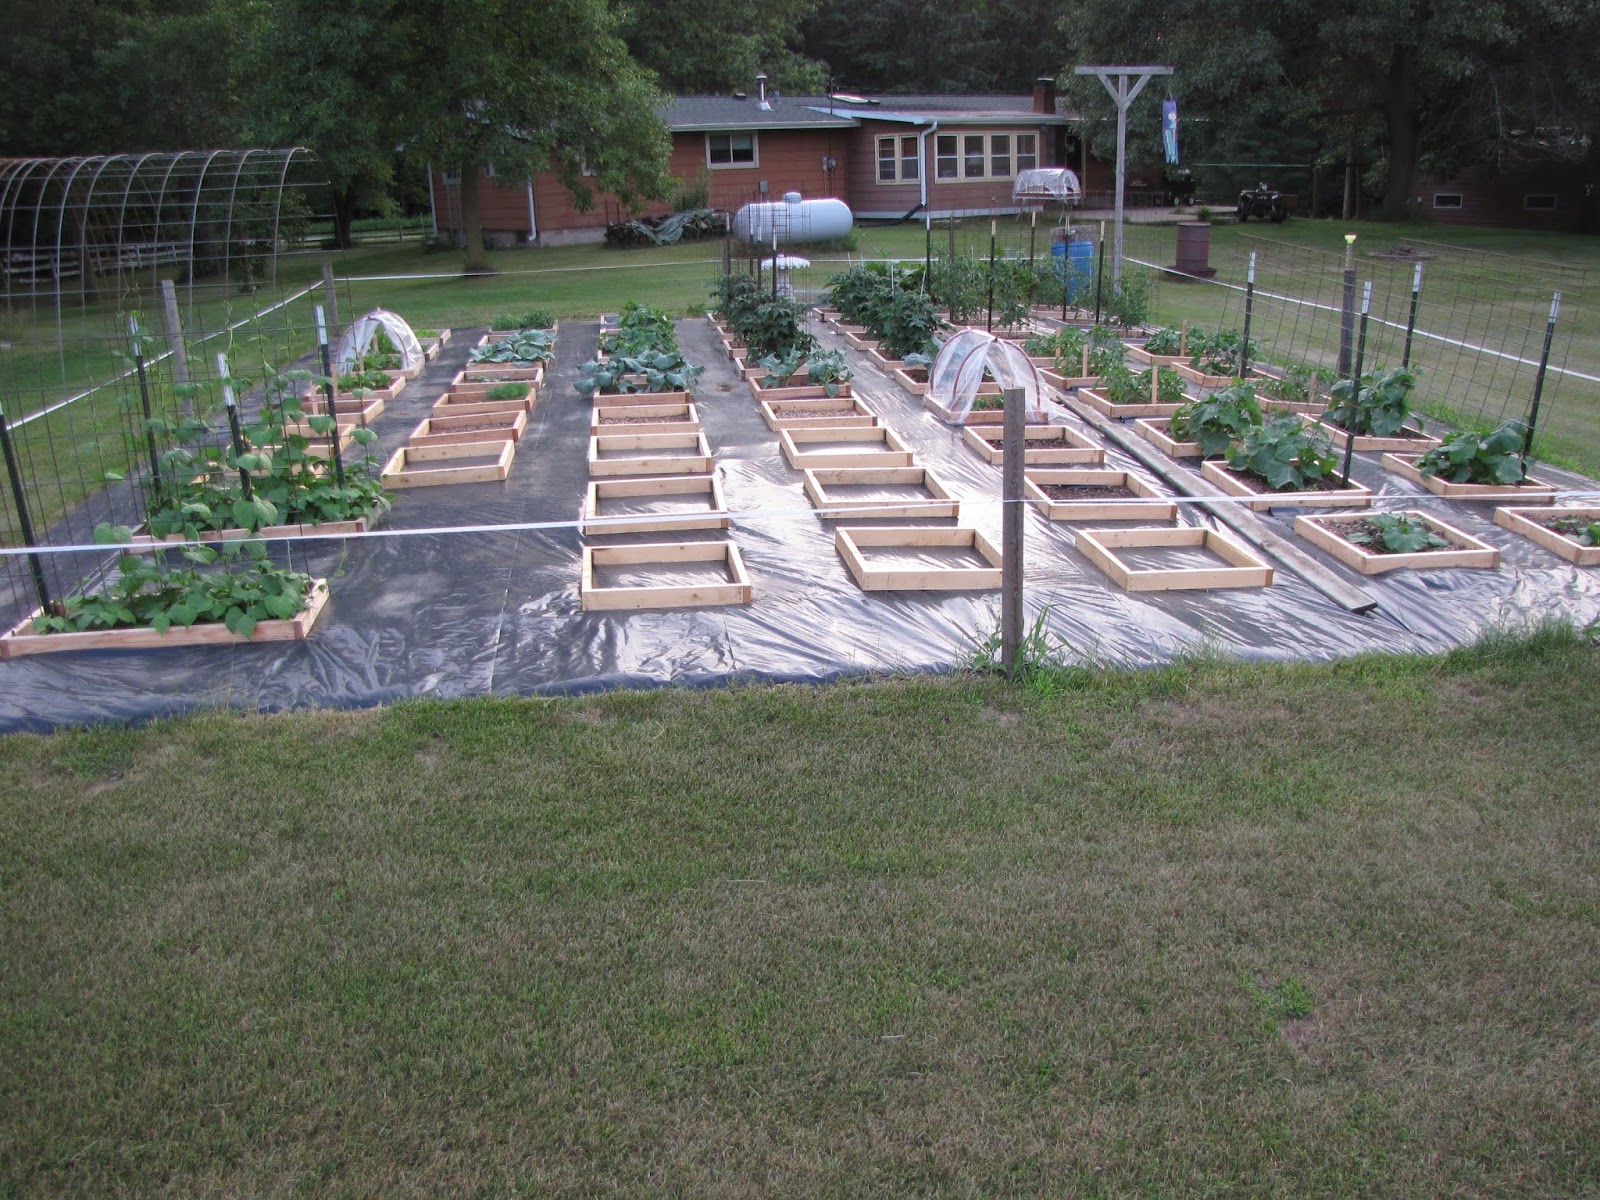
Back in March of this year I posted here about Rick's Amazingly Beautiful Wisconsin Minibed Garden. The photos of Rick's garden in that post were from the 2018 gardening year. But the photo above is from Rick's 2019 Minibed garden. It was sent to me in June with the following e-mail...
.


Hi Herrick,

I just thought I’d drop you a line and update you on my mini-bed experience. 

I have just about all my planting done, except for carrots and I plant those the first part of July. We had a cool spring here. We had a few 80 degree days last week and now we are back to the low, to maybe mid 70’s this week. We didn’t have any 80 degree days in May, so things are kind of off to a slow start this year. That’s OK with me though. I don’t mind working on the cool days. When the temps get in to the upper 80’s to around 90 degrees with a 65-70 degree dew point, I start to melt. I don’t work so well outside then. 

Last year was my first year with a mini-bed garden and I cracked the soil as I prepared the beds for planting. I didn’t notice anything different, or unusual when I cracked the soil. 

This year as I cracked the beds to prep them, I got a surprise. My four tined potato fork that I use slipped in to the soil in the beds with hardly any effort. At most, I gave the fork handle a little push. The soil was so soft and friable I was amazed. I kept the beds mulched with leaves over the winter and with the amount of snow we had, I thought the beds would have settled, or packed down some. They did not. 

Also this year after I cracked the beds, I added the amendments, then worked up the top 2”-3” of soil to mix them in. My thought is that some of the amendments will mix a little deeper in to the soil. Also instead of breaking up and mixing the top few inches of soil then adding the amendments and then mixing again. I added the amendments right after I cracked the soil and then mixed. 

Last year I wrote to you and told you about my garlic patch failure. Out of 150 cloves planted I got one plant. When I checked it out later last spring I think all of the garlic cloves rotted except that one. When I searched the bed I couldn’t find any trace of the garlic cloves. 

Last October I planted garlic in mini-beds in my lower garden. I amended each bed with alfalfa meal, kelp meal and dry screened chicken manure. I will have garlic this year. Actually I think it’s the best garlic I have grown. The leaves are tall and the stems are thick. I’ve attached a few pictures of the beds. I noticed yesterday that the scapes are just starting to emerge from the top leaves. 

Take care.

Rick from Wisconsin
.

Here's another photo of Rick's garlic beds in early June. No weeds. Beautiful plants.


I never got around to posting those photos and Rick's comments back in June. So I contacted him a few days ago and asked if I could get some current pictures. These are the garlic beds on July 9th...


Those beautiful garlic beds are almost ready to harvest. If that's not some great gardening inspiration, I don't know what is.  

If you have not yet seen my YouTube videos about Minibed garlic, here they are...


And if you are not familiar with cracking the soil...


Elizabeth Makes
A Minibed Garden!


Elizabeth lives in the future State of Jefferson (a.k.a., Northern California). She is a frequent commenter (and encourager) on my personal blog and the Whizbang Gardening Facebook page. This year she made a Minibed garden. That's it pictured above. 

The hardest part of Minibed gardening is getting the infrastructure in place. It was a daunting task for Elizabeth to do this, mostly on her own, but she did it.

Congratulations, Elizabeth! 


Rick's Amazingly Beautiful
Wisconsin Minibed Garden

(click on photos to see larger views)

Rick L. in Wisconsin recently sent me the following e-mails and photos. As you might imagine, I'm so pleased to see this kind of feedback on my gardening system. Thank you, Rick, for allowing me to share your comments and photos here. I find them powerfully inspiring, and I'm sure everyone who comes to this page will too!


Rick's First E-mail...

Hi Herrick,

We have emailed back and forth a few times. Last spring I bought your Mini-Beds on Plastic Reports 1 & 2. I also bought Report #3 last week. I have read all three reports more than once. I want to thank you for the mini-bed gardening system.

I, like you, resisted using plastic in my gardens until four, or five years ago. I started using the Dewitt fabric with holes burned in it for carrots and onions. It worked pretty good. Your Mini-Beds on Plastic Reports made so much sense and reduced weeding that I went whole hog with it.

I have two gardens. My upper garden is near the house. It is about 36’ X 40’ and I grow tomatoes, broccoli, green beans, cabbage, carrots, herbs, cucumbers, zucchini, lettuce and peppers in it. This is the garden I converted to a mini-bed garden. I have 67 beds in this garden. My pole bean cattle panel trellis are the only beds that are not standard 30” X 30” beds. See attached picture.

My lower garden is more traditional and is about 30’ X 60’ in size. I grow potatoes, onions, sweet corn, dry beans and garlic. Last summer I planted eight mini-beds of strawberries down there. I converted about one third of this garden to mini-beds for garlic and strawberries. The strawberries did great until the deer got in to them around mid-October. They really munched them down to just the crown and a few sprigs left on each plant. I didn’t know deer liked strawberry plants so much. I don’t know if they will make it through our winter, but I mulched them good, so time will tell.

I have to tell you my wife and I were more than pleased and impressed at how the mini-beds performed. We had a few things fail for one reason, or another, but it wasn’t because of the mini-beds. We had the best peppers we have ever grown last year. I put four pepper plants to a bed. Just recently I have read that you should plant peppers so the plant leaves touch when they are mature. Supposedly it increases the yield. I don’t know if that is true, or not, but last year our peppers produced like crazy. When the frost finally killed them and I pulled the plants, I had some peppers with one inch diameter stems. I’ve never had peppers plants like that before. Maybe it was the weather, maybe it was the mini-beds.

Our zucchini, cucumbers produced like crazy and lasted two, or three weeks longer than they usually do. Our tomatoes didn’t do the greatest, but we had plenty to eat fresh and canned enough to get us through the winter. Tri-planted carrots did good. Everything pretty much did better, or a lot better than the traditional row planting and mulching that we used to do and there was a lot less weeding work. That is a major plus to me.

We have quack grass here and it seems I’m battling that through out the whole gardening season. Not last year. I didn’t have any quack grass come up in the mini-beds. In the lower garden where I planted strawberries in July, I just had the area covered with plastic and the mini-bed frames pinned down. When I cut the plastic and cracked the soil in the beds, I did find a lot of quack grass rhizomes, but they were dry and appeared dead. They did not grow in the beds.

I could go on, and on, but I’m going to stop here. We are looking forward to a great gardening season with our mini-beds. I’ve attached a few pictures of my mini-bed garden from last year. I have many more pictures, but I think these show it the best.


It was obvious to me that Rick was a serious, long-time gardener. I was curious to know just how long. His reply...

How long have I been growing my own food? Well, the short answer would be, 44 years that my wife and I have been active, avid gardeners. 

My wife and I were married in 1971. I was active duty military at the time. I was discharged in 1975 and we have had a garden every year since. Sometimes not such a great garden, but we always got a fair amount of food out of them. Now our gardens feed us close to year around. When I go grocery shopping it’s mostly for dairy products (milk, yogurt, etc.) and meat. We have chickens, so we have our own eggs.

The other answer would be most of my life. My parents and grandparents had gardens as far back as I can remember. While I wasn’t involved very much with planting, or preserving the harvest when I was a child, they got me involved in weeding as soon as they could. Ha! Ha! So I have been eating home grown vegetables most of my life.

Now I start my own seeds every year. I marvel at the miracle of a tiny seed growing in to a healthy, vigorous plant and producing food for us to eat. I never thought much about that before I started growing my own plants from seed.

I’ve sent a few more photos. Every thing was grown in mini-beds.


Hmmm... that's a real nice Whizbang Garden Tote in that last picture (Click Here for how-to instructions). 

Here's a photo of Rick, at the end of the growing season, with one of those amazing, thick-stem, Minibed-grown pepper plants he mentioned in his first e-mail (it looks more like a small tree trunk!)...


###
If you are not familiar with my Minibed gardening system, full details are in my 2019 Minibed Gardening Trilogy Report. Click Here to learn more.


Illinois Becky's
Inspiring Minibed Garden


Becky's Minibed Garden in 2018
It was late in 2016 when, after decades of trying so many other gardening methods, I developed a new system for gardening. In the beginning, I called it Minibeds-on-Plastic. I now call it Minibed Gardening.

At first glance, Minibed gardening doesn't look like anything all that unique. The casual observer would only see plastic mulch and some small beds. So, what's the big deal?

Well, the big deal is in how the beds are laid out and managed. I call it high-culture. High culture is all about focused attention on the health of the soil, and providing optimum conditions for plants to thrive. There's a lot more to it than meets the eye.

For the past two years I have had a Minibed experimental garden. I have put my initial ideas into practice. I've seen them prove to be sound, productive, and profoundly satisfying.

But what is even more satisfying to me is seeing others take the Minibed gardening idea and put it to good use. Such is the case with the garden in the photo above. Becky M. lives in northern Illinois, about an hour southwest of Chicago (zone 5). She sent me that beautiful photo above with the following comment...
"I bought your garden book and the first update and last year I converted my garden to minibeds.  Wow.  I had a few bumps along the road and I learned from them but for the most part, my 45 mini-beds were a huge success.  I'm 66 with bad knees and the weeding my traditional row garden required almost made me give up gardening completely.  I'm so glad I got your book and took the plunge!"
Becky's Minibed garden puts my garden to shame. Here are a couple more pictures from her first year of Minibed gardening (you can click on the pictures to see enlarged views)...


Here are some "before" photos of the same garden in the spring, after getting the plastic and Minibed frames in place...


And here's a final photo from Becky...


 Now, if all of that doesn't inspire you to get gardening this spring, I don't know what will. 

The way I look at it, gardening is one of the most positive and productive things you can do in a world full of such craziness and uncertainty. 


###

With your Minibed gardening success and satisfaction in mind I have recently (just yesterday) finished putting together a new Minibed gardening resource...


The Minibed Gardening Trilogy is a collection of my yearly Minibed gardening reports (2017-2019). It has 130 pages and 250 photos. It explains the history, the theory, and the best practices of my Minibed gardening system. 

This new resource is formatted as a pdf download. The price is $17.95. But I have put it on sale until March 16 for only $12.95. Click Here to order.

If you want to learn more about the Minibed gardening system before purchasing the Trilogy, Click Here to go to the Minibed Gardening web site.


###

NOTE: If you have purchased the previous yearly reports from me, you already have the first two thirds of this trilogy, and you should have received and e-mail with information about purchasing just the 30-page 2019 Minibed Gardening update (priced at $2.95). If you did not get the e-mail, contact me at  herrick@planetwhizbang.com and I'll send you the details.


More
Minibed Gardening
Blog Posts
Are Coming!


This blog site has been mostly inactive for a long time. After beginning as a Minibed gardening blog, I ended up using it to feature and sell my Minibed Gardening Reports. But now that I have a new Planet Whizbang Web Site, I've moved the marketing there (except for a couple links on the sidebar here). So, now I am planning to get back to blogging more here about Minibed gardening.

I'll blog about my own Minibed gardening, and I'll post blogs about other people's Minibed gardens. My next post here will be about "Illinois Becky's Inspiring Minibed Garden." Some of you have read about Becky's garden at my personal blog, The Deliberate American, but Becky's garden needs to be here too!

And then I'll be posting some great pictures and feedback from another inspiring Minibed gardener. Rick L. and his wife live in Wisconsin and they've been gardening for 44 years. Their Minibed garden is powerfully inspiring!

There is a spot over on the sidebar where you can sign up to get e-mail alerts when I put a new blog post here. You might want to check that out. Unfortunately, the e-mails you receive are usually not formatted for easy reading (Blogger has some issues), but when you get the e-mail you can click on the title and come right here to read and see the photos.

As for my own Minibed garden, there were a few ice crystals still in my Minibeds yesterday, but the soil was mostly soft and tillable. I used my Whizbang Pocket Cultivator to stir up the surface and plant 5 Minibeds. Two to spinach, two to shell peas, and one to Flashy Trout lettuce. All five were covered with solar pyramid cloches. Snow is in the forecast for tomorrow.

Planting those 5 Minibeds was a joy. No rototiller was needed. Just my trusty pocket cultivator! And as I planted each bed, I logged the information into my free Minibed Garden Journal App.  I'm loving that app!

I'm very excited that more and more people are putting the Minibed gardening system into practice.

If you can send clear photos (not too small) of your Minibed garden, or of individual Minibed plantings this year, please do so. If you have a new idea that integrates with Minibed gardening, let me know. I would like this blog to feature other Minibed gardeners and their gardens as much (if not more) than my own.

We can learn from each other, and be inspired by each other's Minibed gardens. That's what this blog is all about. 

After two years of experimentation, I'm persuaded that it's easier to realize kitchen-garden success and satisfaction with the Minibed system than it is with any other gardening system.